This post is sponsored by Ace Hardware
I received compensation and product, but all opinions and
content are my own
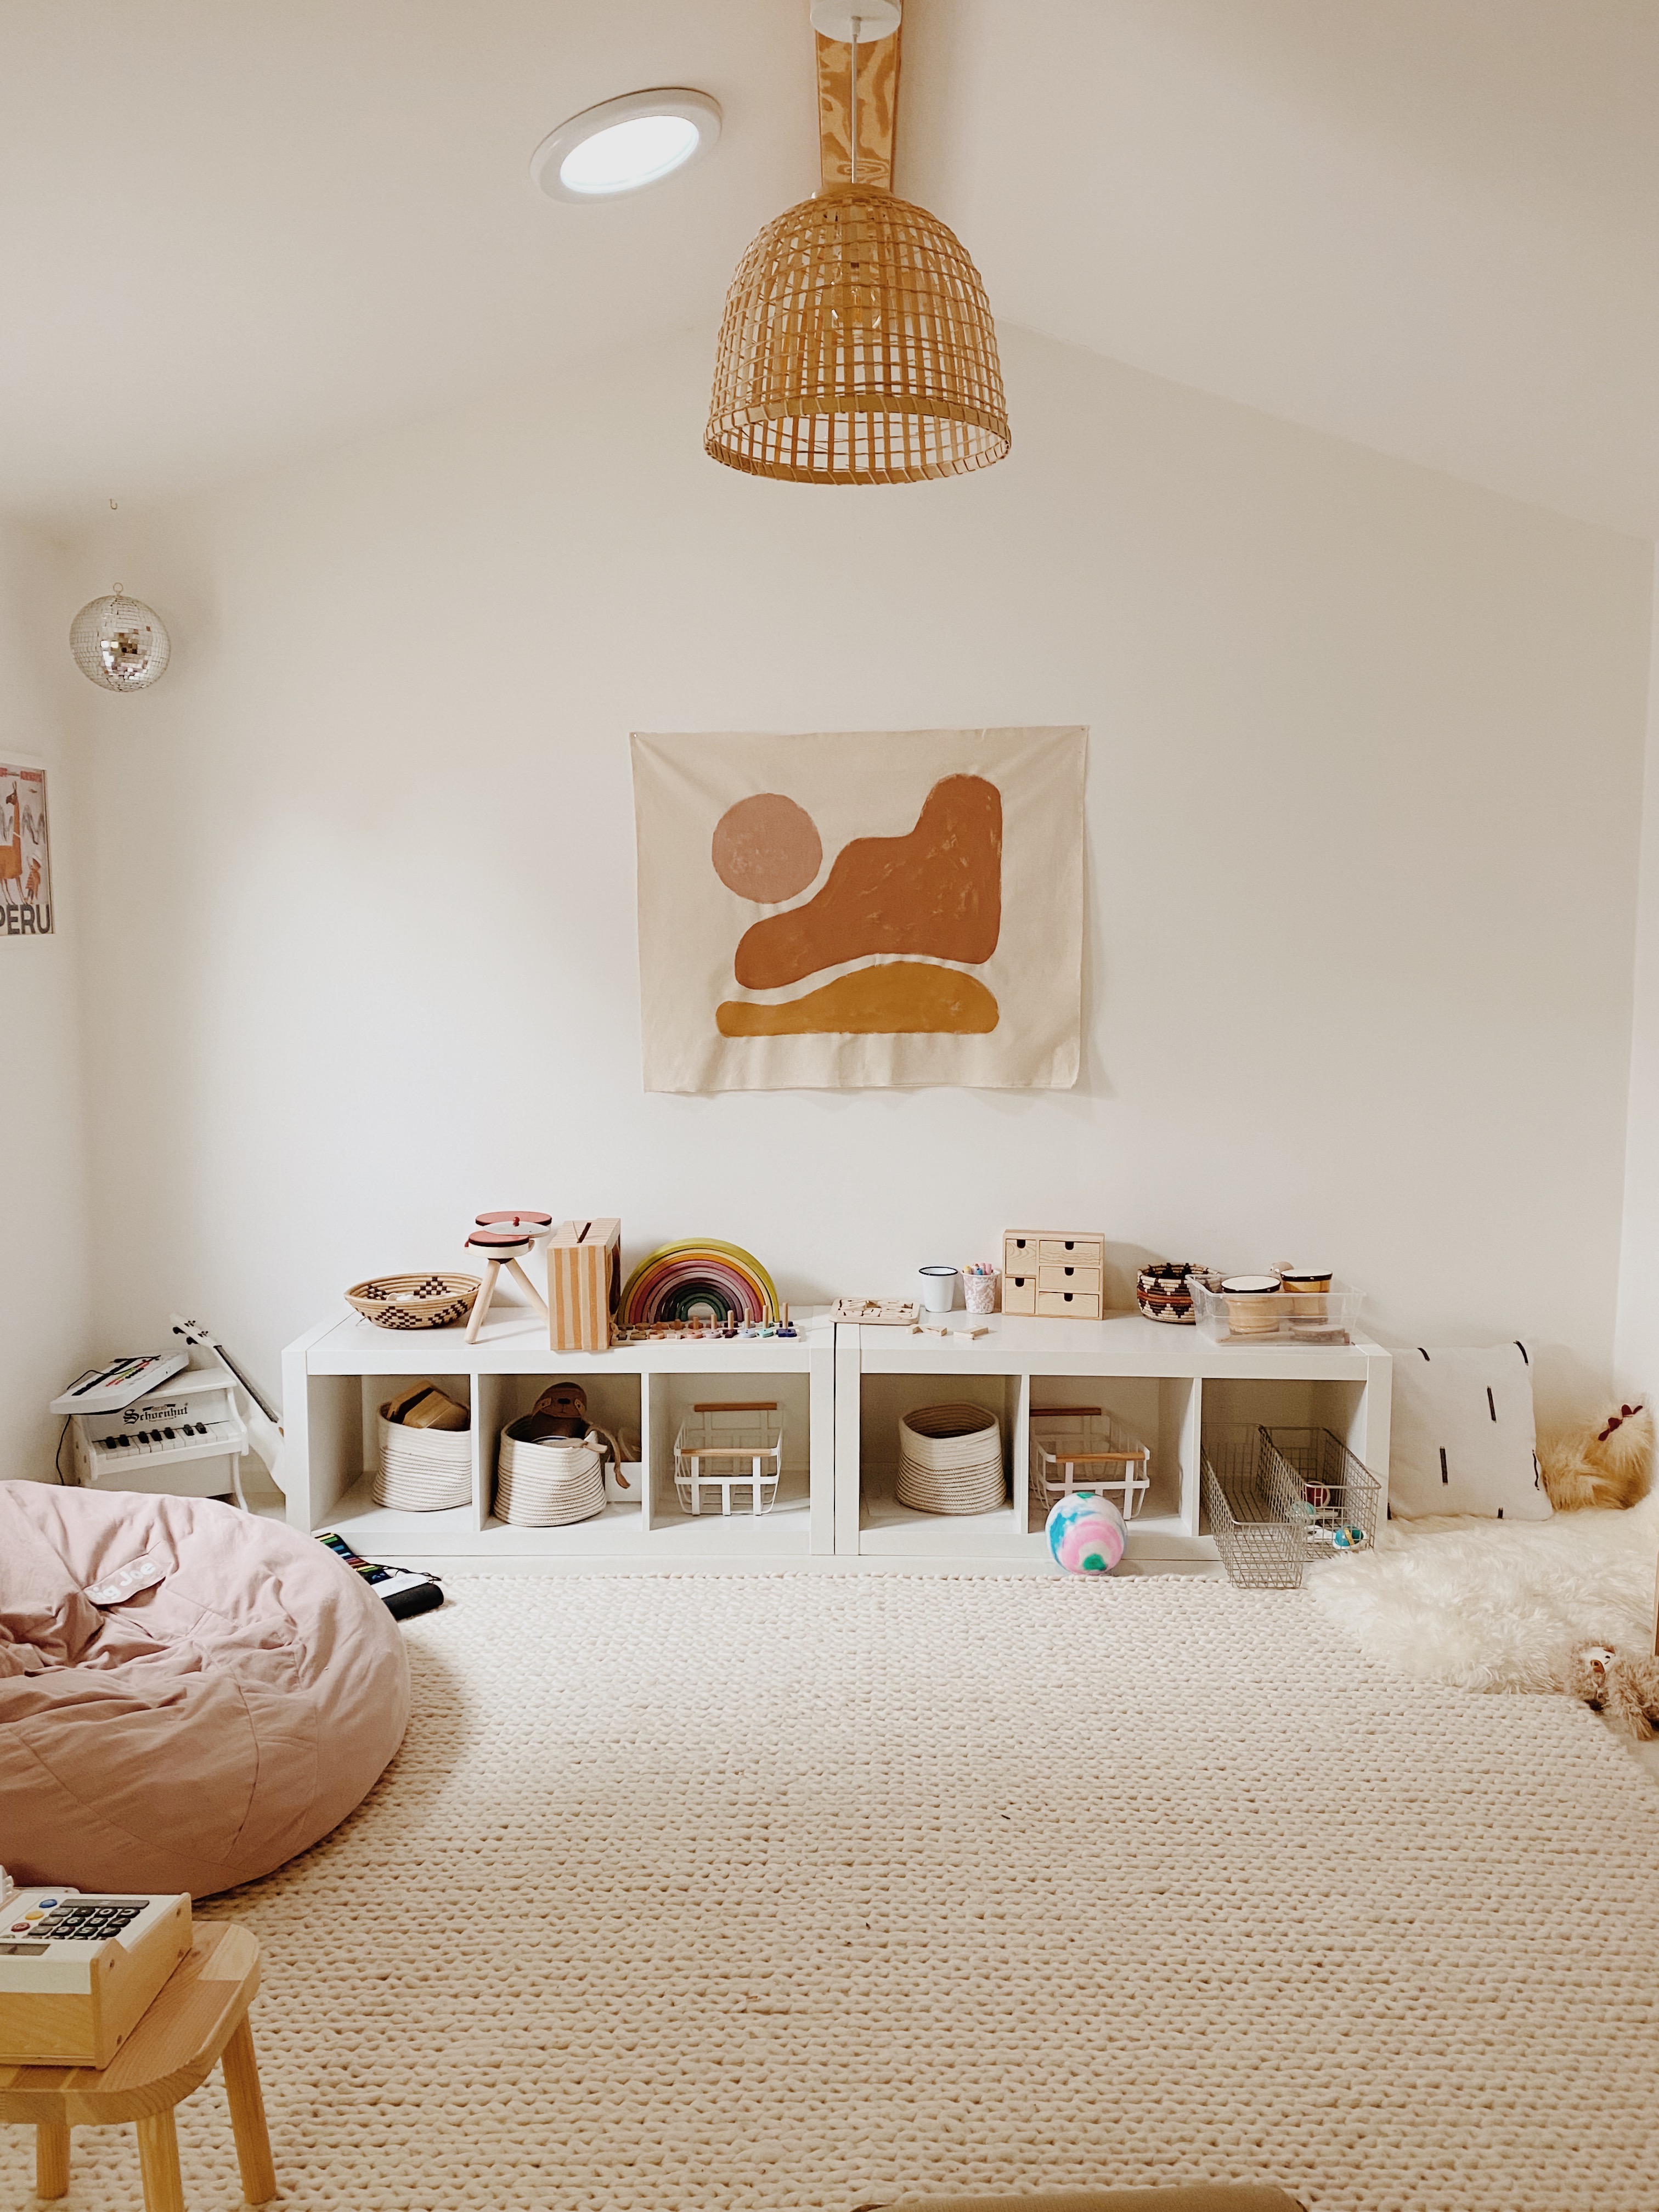
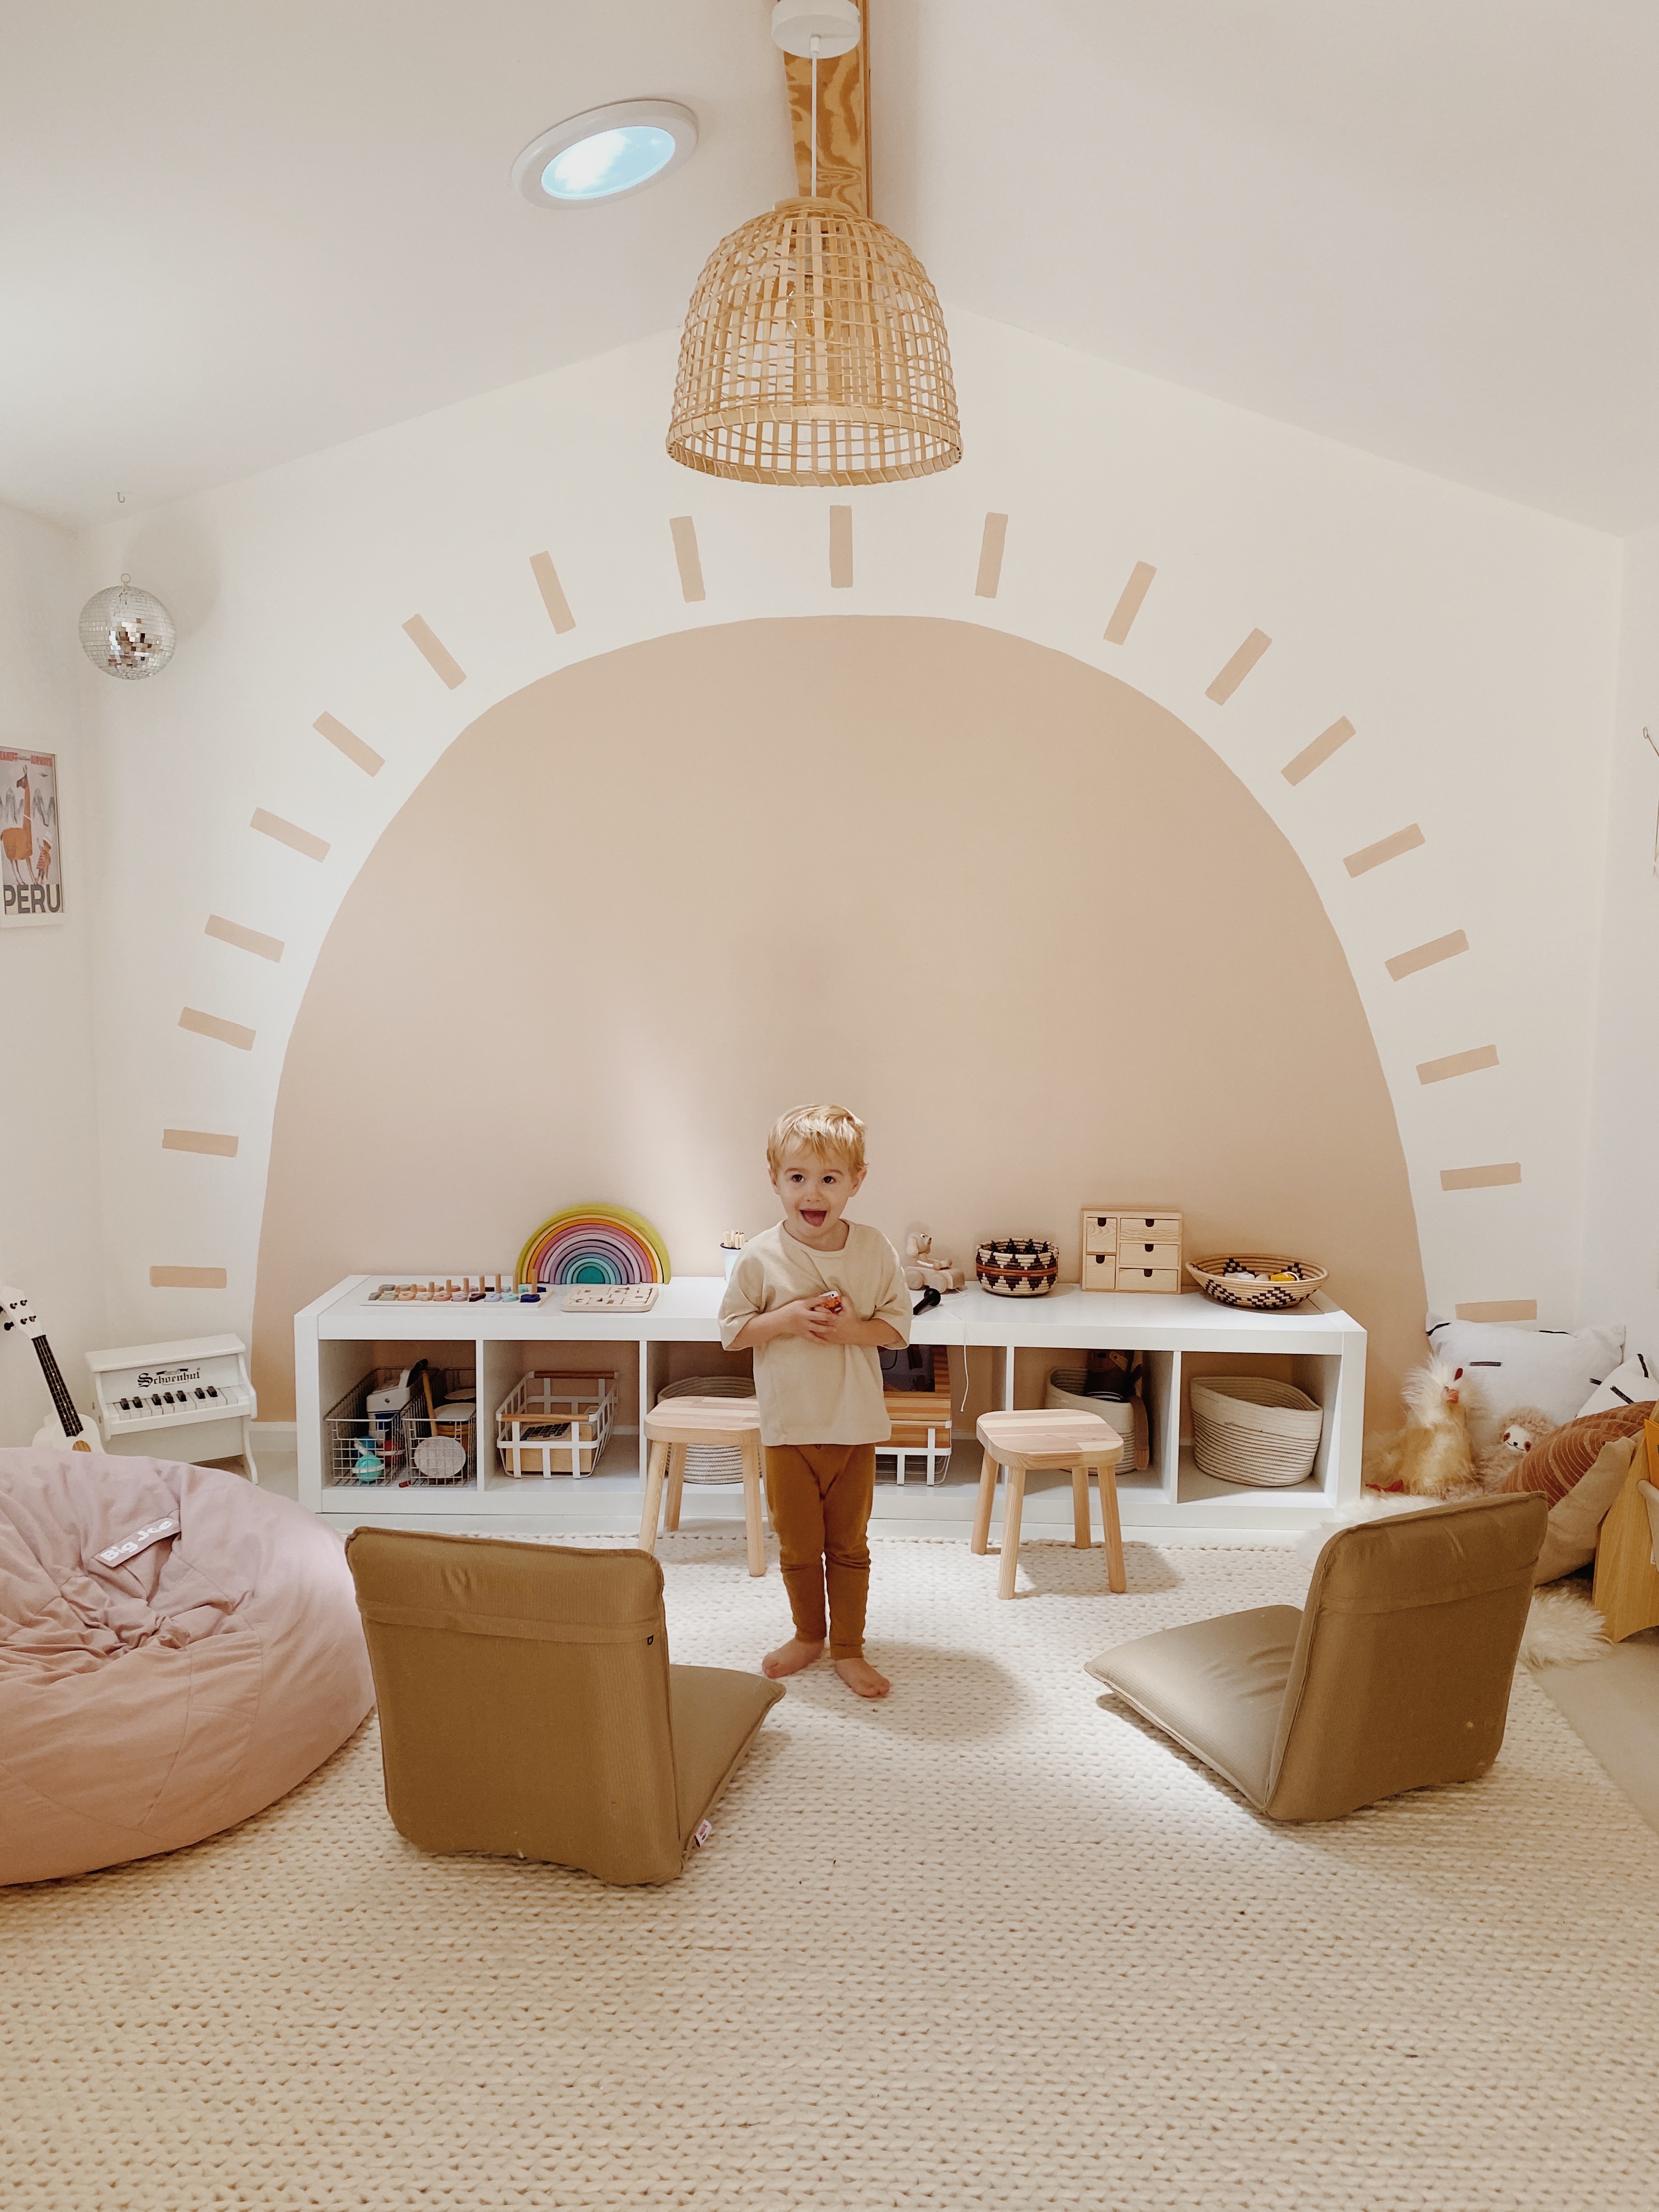
when we fixed up the playroom / the studio last year i was sooo happy with it, but the giant wall you see straight on when you enter the room always felt sort of challenging to me. i tried a few different pieces of art and eventually decided to just paint a cute simple canvas to hang– but overall it still felt … underwhelming to me. so finally i decided to add an easy mural to the wall to make it feel really special in here. my mom had a window with a teeny far away castle painted in my bedroom as a kid and i will never forget it. i used to stare at it every night before i went to bed. it’s those special things that mean so much to kids, so i really hope arlo always remembers this sun fondly (and while we’re at it maybe all of the projects i’ve done for him over the years lol)
i teamed up again with Ace Hardware, and i’ve always been so happy working with them– but this time they sent me a sample color from their 2020 color trends, vanilla chai by clark+kensington (N-W9), and it was actually so perfect for me so i just used that without hesitation! it’s the perfect peachy neutral that is basically my dream paint color (ps i used it in the parents bedroom of arlos dollhouse i’m working on too!)
painting a fun accent wall or mural can feel daunting, especially if you aren’t the most artistic, so it helps to come up with an easy design like this. i was brainstorming lots of challenging ideas and intricate murals, but am so glad i went with something simple. this only took me roughly two naps to complete and i barely needed help from gid whatsoever!
while we’re all stuck at home, a project like this is the perfect creative project. idk about you but if i have a creative outlet i’m working on, it always helps me get through things. i can’t remember the last day of quarantine i wasn’t working on something haha.
so before i get into how i painted the giant sun, here is a reminder of what the wall looked like before!


ok not to toot my own horn but WOW I REALLY LOVE IT!!!! lol. it just feels so happy in here now. it’s clearly hand painted but i sort of love that.
ok so here’s how we did it:
measure along the floor to the center of your wall, and attach a piece of string there in the center, so that it’s anchored just above the trim.
the string should stretch about as tall as you want your rounded edge to be or pull the string to one of the side walls if you want your dome going from corner to corner.
tie the lead-side of a pencil (close as you can to the tip) to the end of the string, and hold it taut as you trace your edge. the pencil should follow the arc if you hold it tight and go whatever speed you need to keep it smooth. buuuut, i wanted our sun much higher than it would have been based on the width, so we used this is a rough guide and sort of hand drew more of an arch to be nice and tall and fill up the wall better.


all of clark+kensingtons paints are paint and primer in one, the color went on so smooth and easily. i only really did one main coat with a light touch up second coat and it looks so even– i went with an eggshell finish. start with a light coat from the bottom up. in order to make sure i was doing the sides evenly, i worked my way up and out very slowly.


step back A LOT to make sure your sides are looking even. once you get to the edge carefully use a angled trim brush along the border.


once you’ve finished your semi circle, let dry overnight before you do the rays.
next, make a stencil. we used a small box that had good structure, and cut a rectangle 7″ x 2″. to keep the edges clean we added tape. that can also be challenging since paint can stick to it, but it kept the edge so its worth it.

i tried a small foam roller and that did NOT work, so use a straight edge brush that was the exact width of the stencil instead and it worked perfectly. carefully hold the stencil in place and paint a light stroke, then you can go in with a smaller straight brush and clean up the edges.


i eyeballed the distance and placement for the rays (clearly), but if you want to get them more exact you could also hang a piece of string taut from side to side to line them up. i thought of that afterwards lol. as i’ve already said, keep stepping back so you can gauge placement better! i did but still managed to have the spacing be a little wonky. but that just makes it feel more handmade right?!
ps, if you mess up, you can always go in with your original wall paint to fix imperfections (i did have to on one of the rays i did too high and it looks fine, i bet you can’t even tell where!!)


i am sooo stoked on how it turned out. i hope you like it too!


